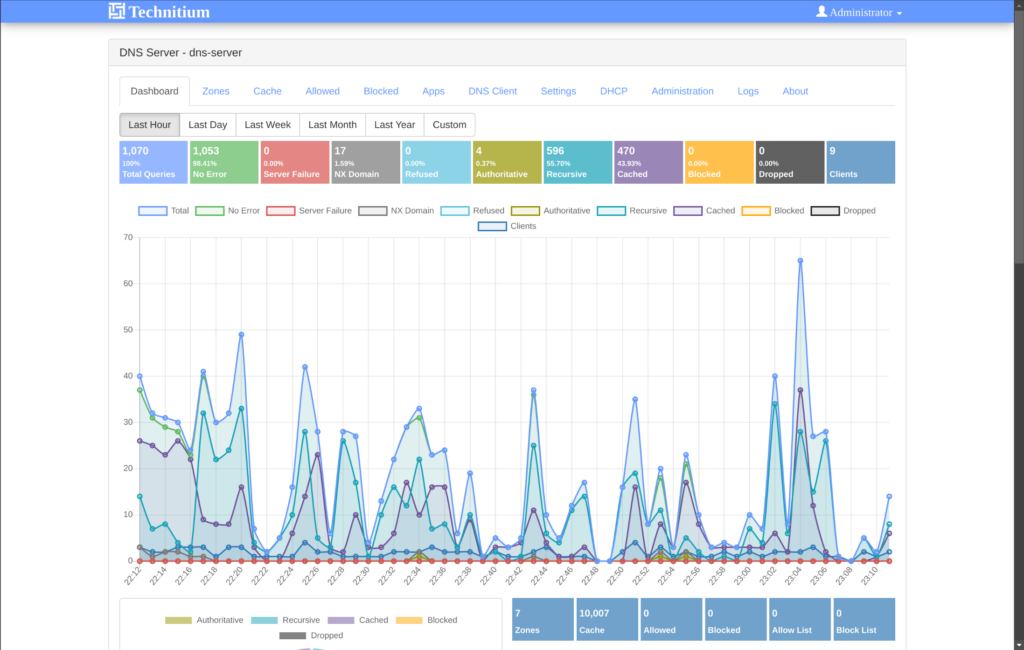
This required some research for me, so I’m gonna put it into one article.
This guide – if you could call it that – assumes you have basic knowledge in the Linux terminal and have Docker and Docker Compose installed and ready.
1. Setting up the compose file
For this step you need to create an empty directory where the server will live. In my case it’s called dns-server
$ mkdir dns-server
$ cd dns-server
Create a docker-compose.yml file and put the following inside
$ nano docker-compose.ymlservices:
dns-server:
image: technitium/dns-server:latest
network_mode: "host"
# ports:
# - "5380:5380/tcp"
# - "53:53/udp"
# - "53:53/tcp"
environment:
- DNS_SERVER_DOMAIN=dns-server
volumes:
- ./config:/etc/dns
restart: always
# sysctls:
# - net.ipv4.ip_local_port_range=1024 65000Keep in mind that this only applies to my setup. You will need to change this so it fits in your environment.
I also want to use Technitium as a DHCP server, so network_mode: "host" must be set. All ports and sysctls must also be commented out. I you don’t want it to be used as a DHCP server you can just reverse the comments.
Refer to the Technitium Docker image for further configuration.
2. First Startup
Start the compose project with the following command
$ docker compose up -dYou can optionally view and follow the log with
$ docker compose logs -fOpen http://[your IP]:5380 in your Browser and log in using the username admin and the password admin.
The first thing it will ask you is to set a new password. Set it and you’re in.

Leave a Reply